Roughly half year ago, I decided that I want to try photographing with ringlights. The first ring light I made was roughly 20 cm diameter and was used on camera. The main problem with this size of ringlight was, that I had to use wide angle, that is less, than perfect for portraits. So, I decided to make ringlight, big enough, to shoot with longer focal lengths.
Now, after half year of using this light in dozens of scenarios, I decided to share this project to wider audiences.
In the end of this post, I will share some examples made with this contraption.
The dimensions of this ringlight is 56cm. inner diameter and 84cm. outer diameter.
In total 480 LEDs were used.
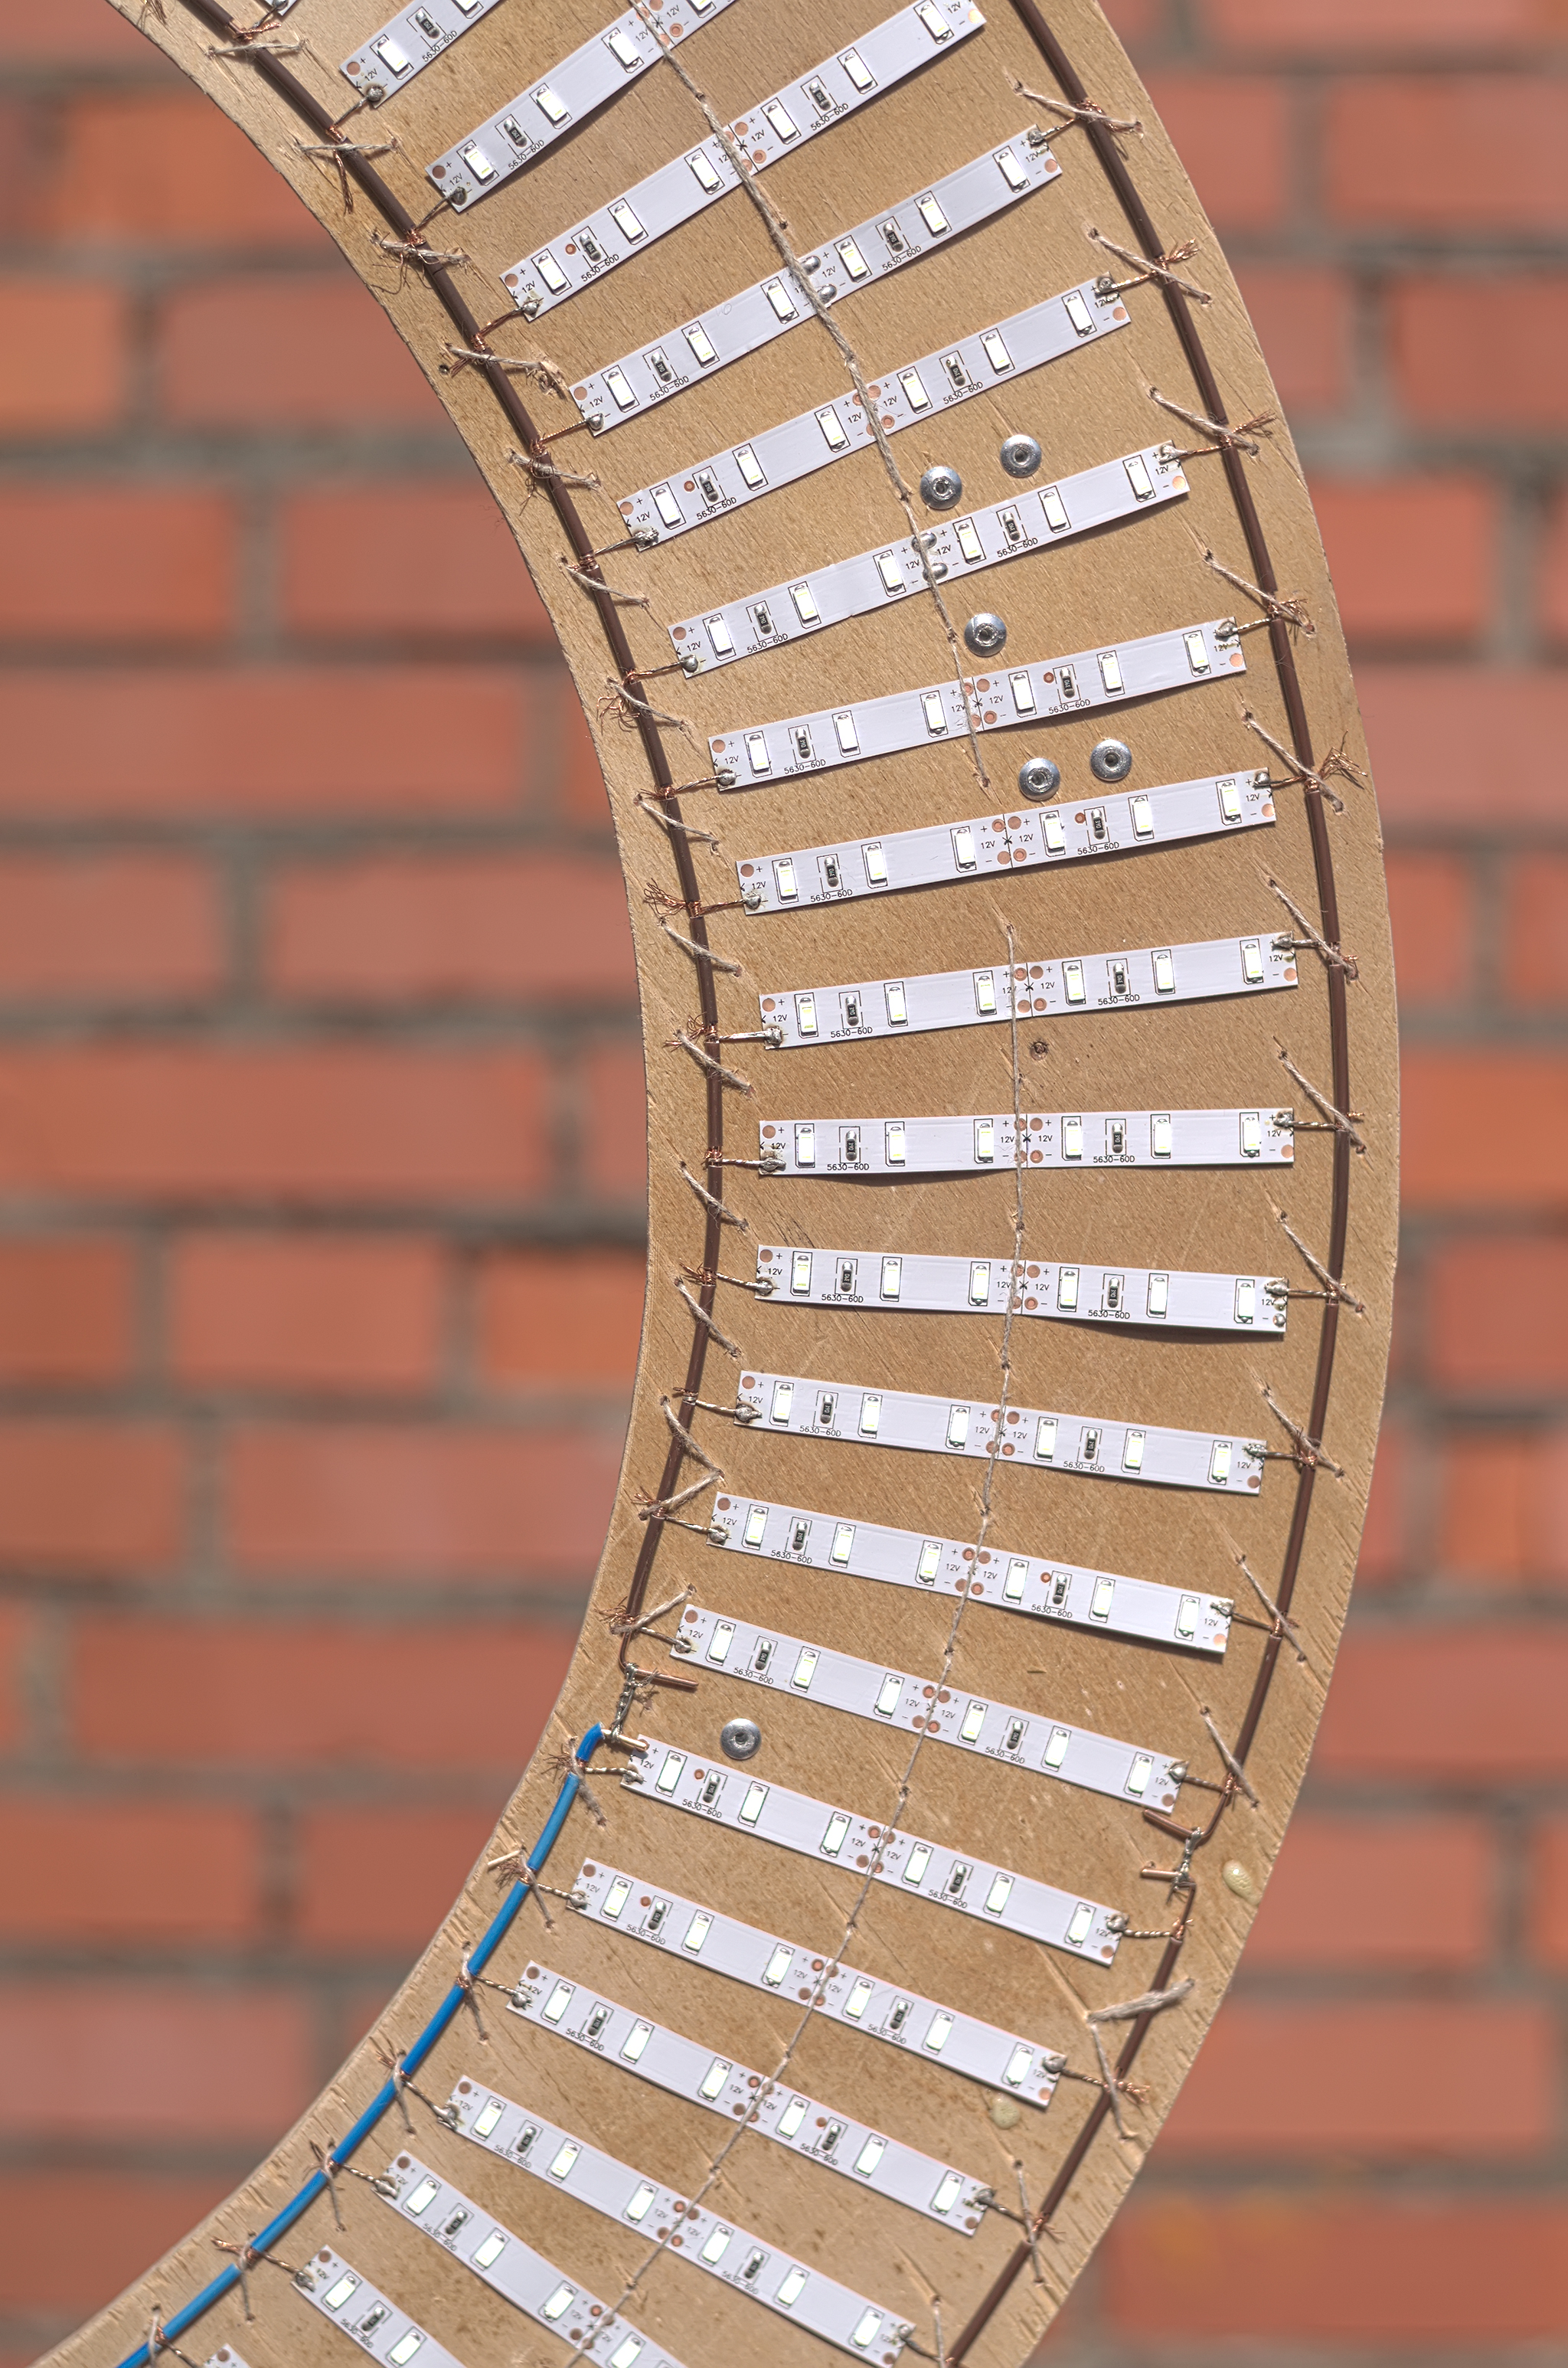
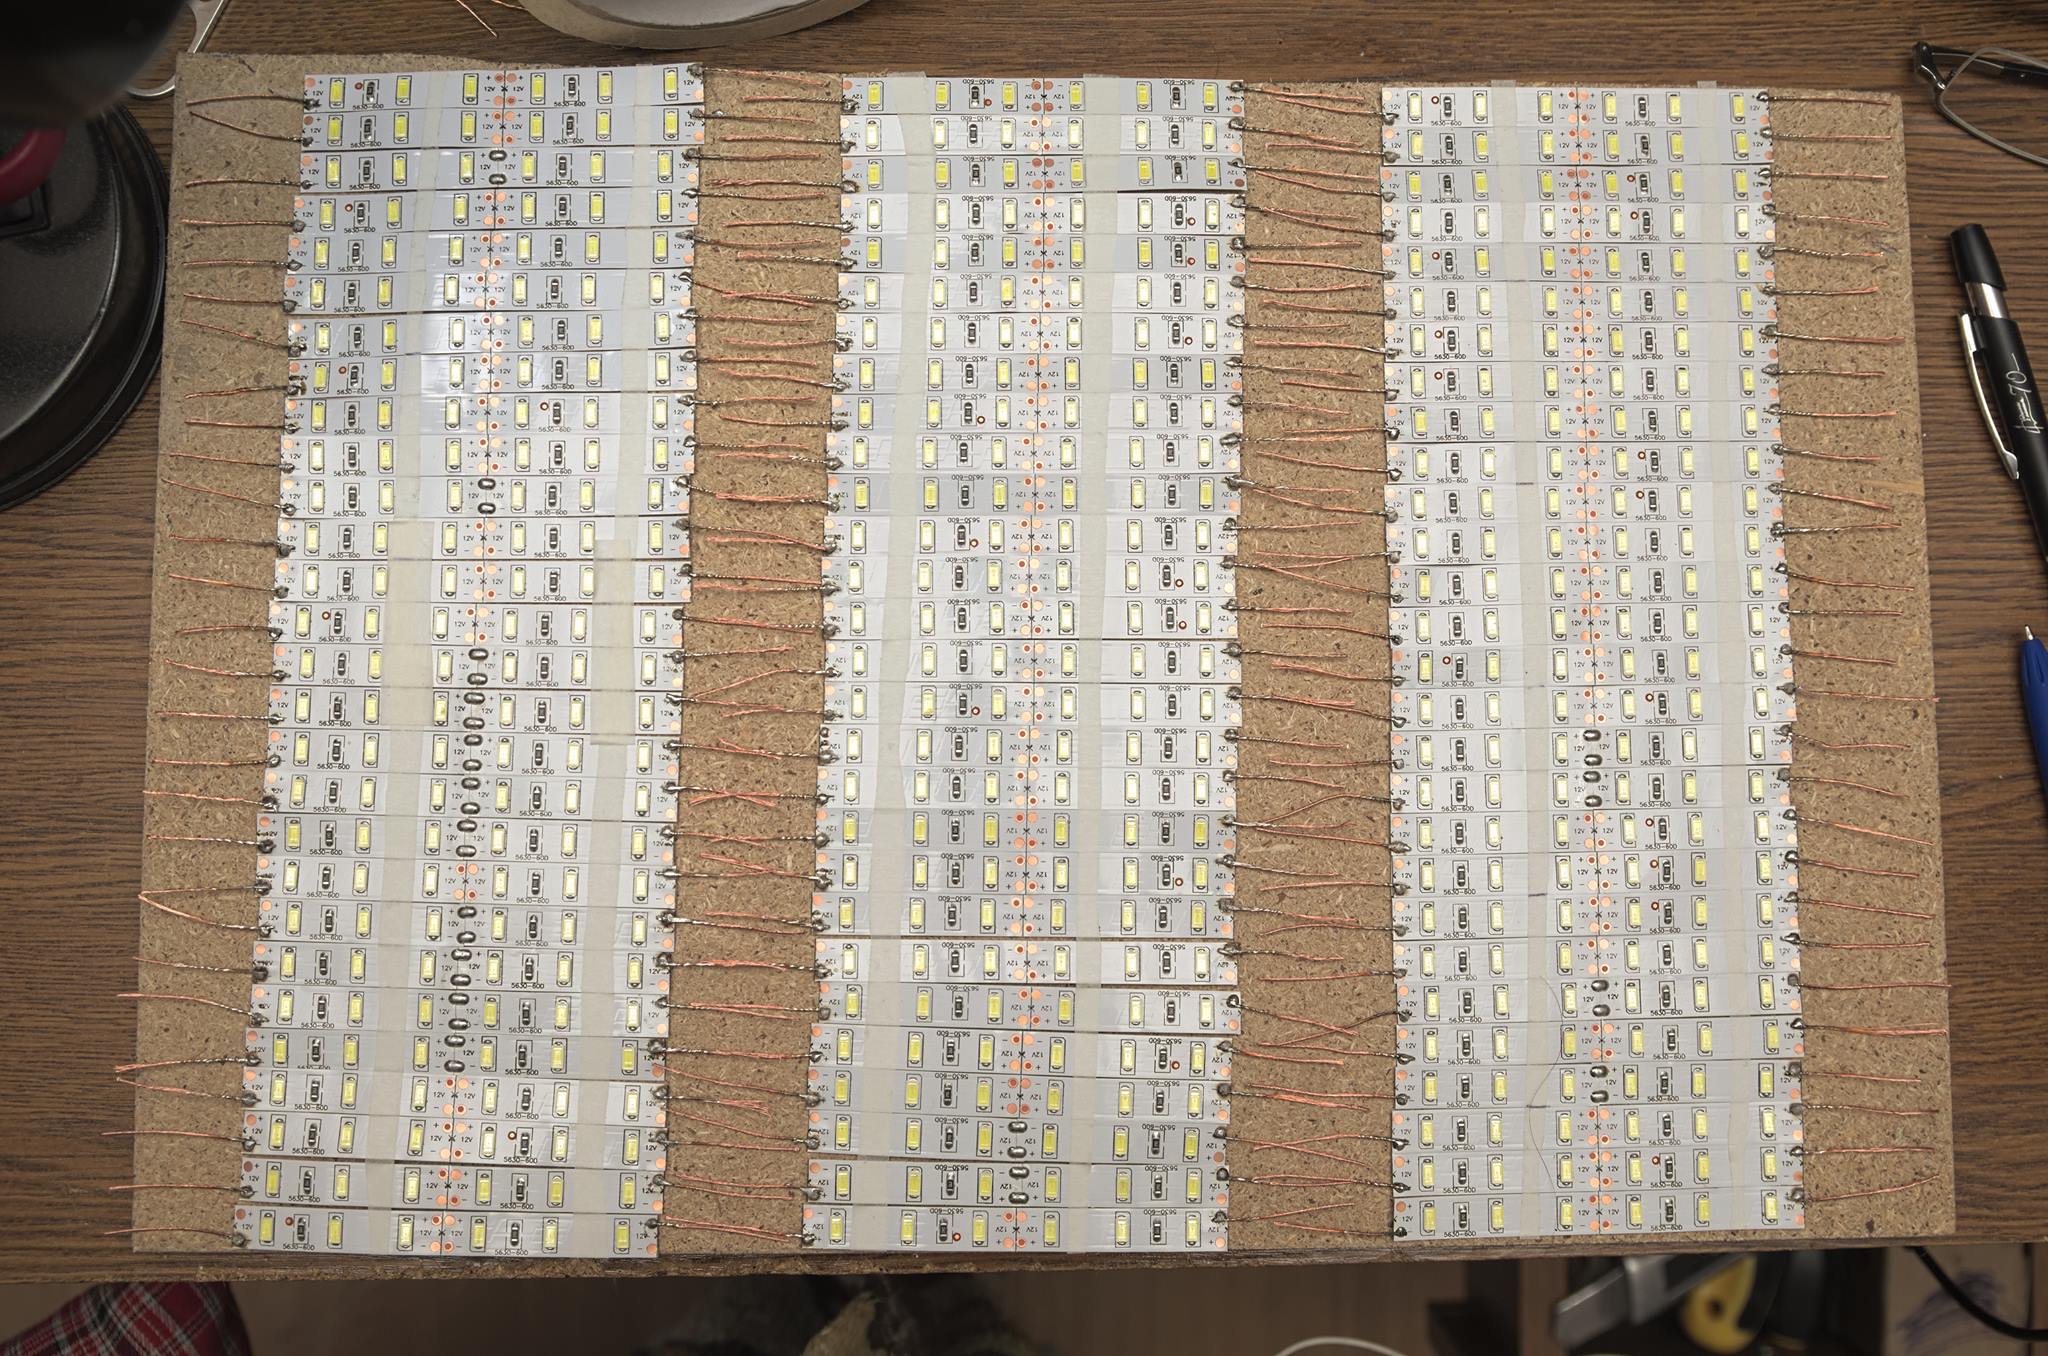
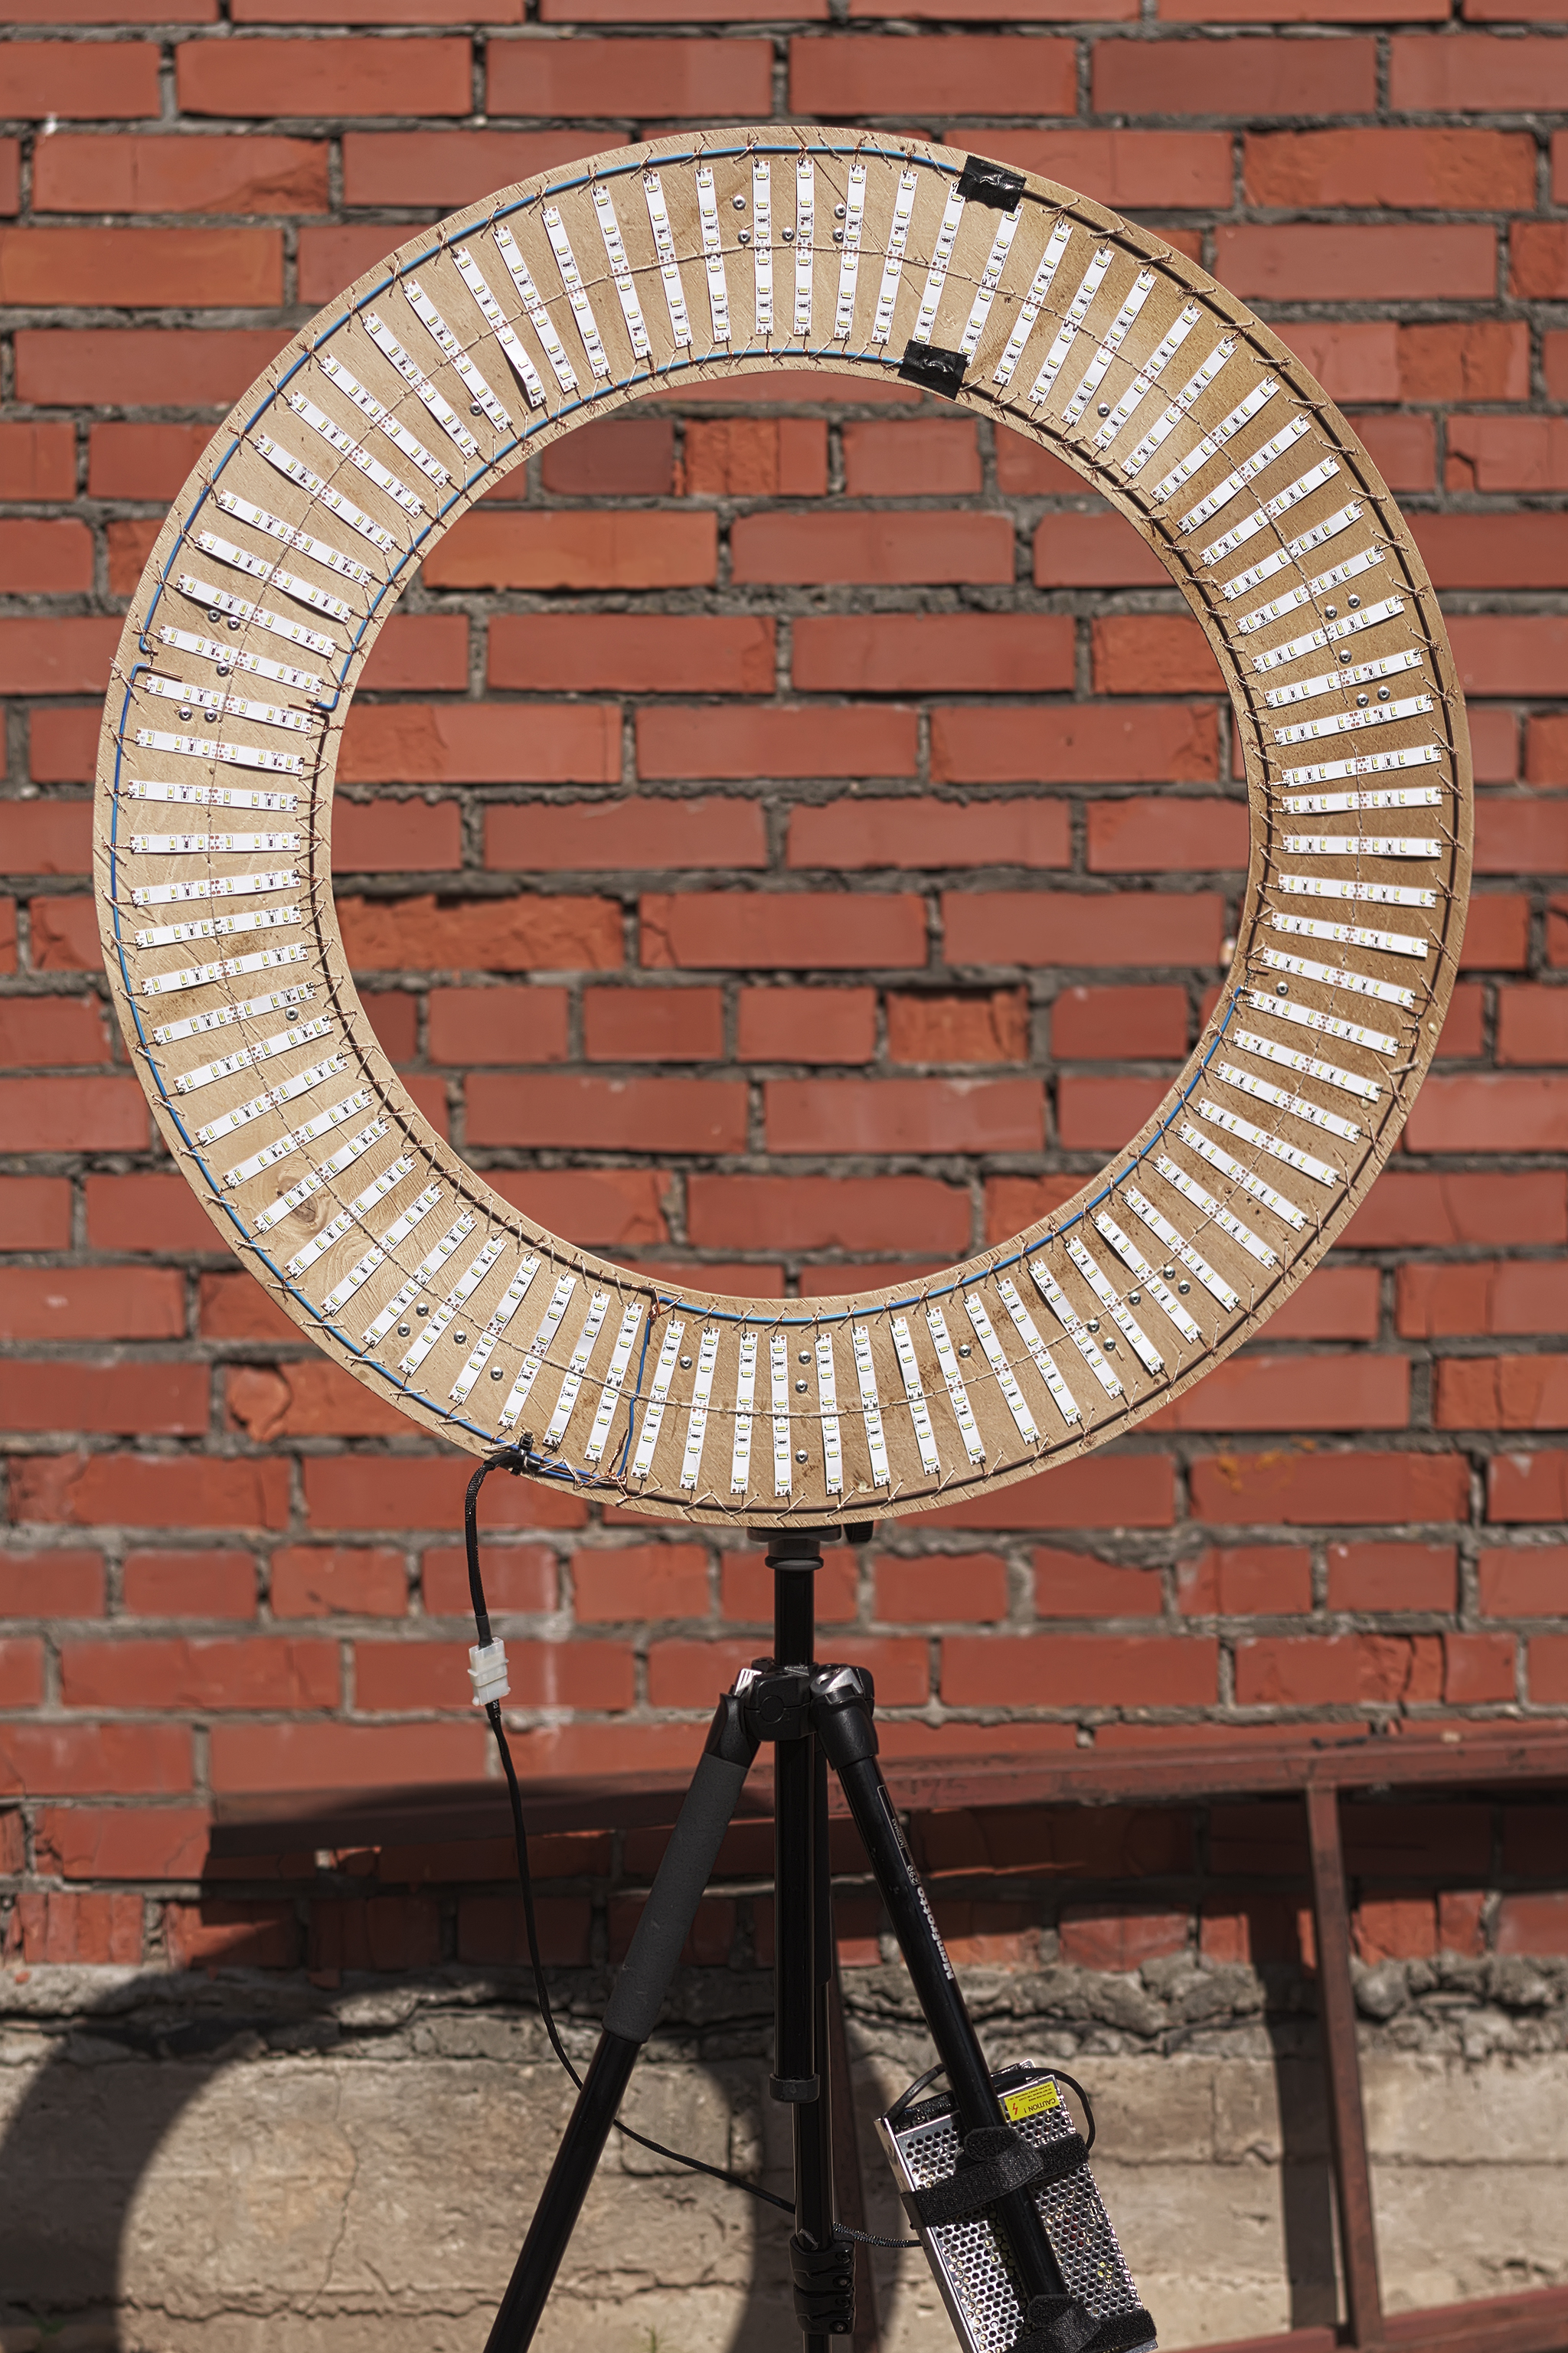 I used eight meters of SMD-5630 LED strips, cut in 10 cm pieces. Each 10 cm piece have six LEDs.
To each strip a lead wires were soldered, and connected in parallel connection.
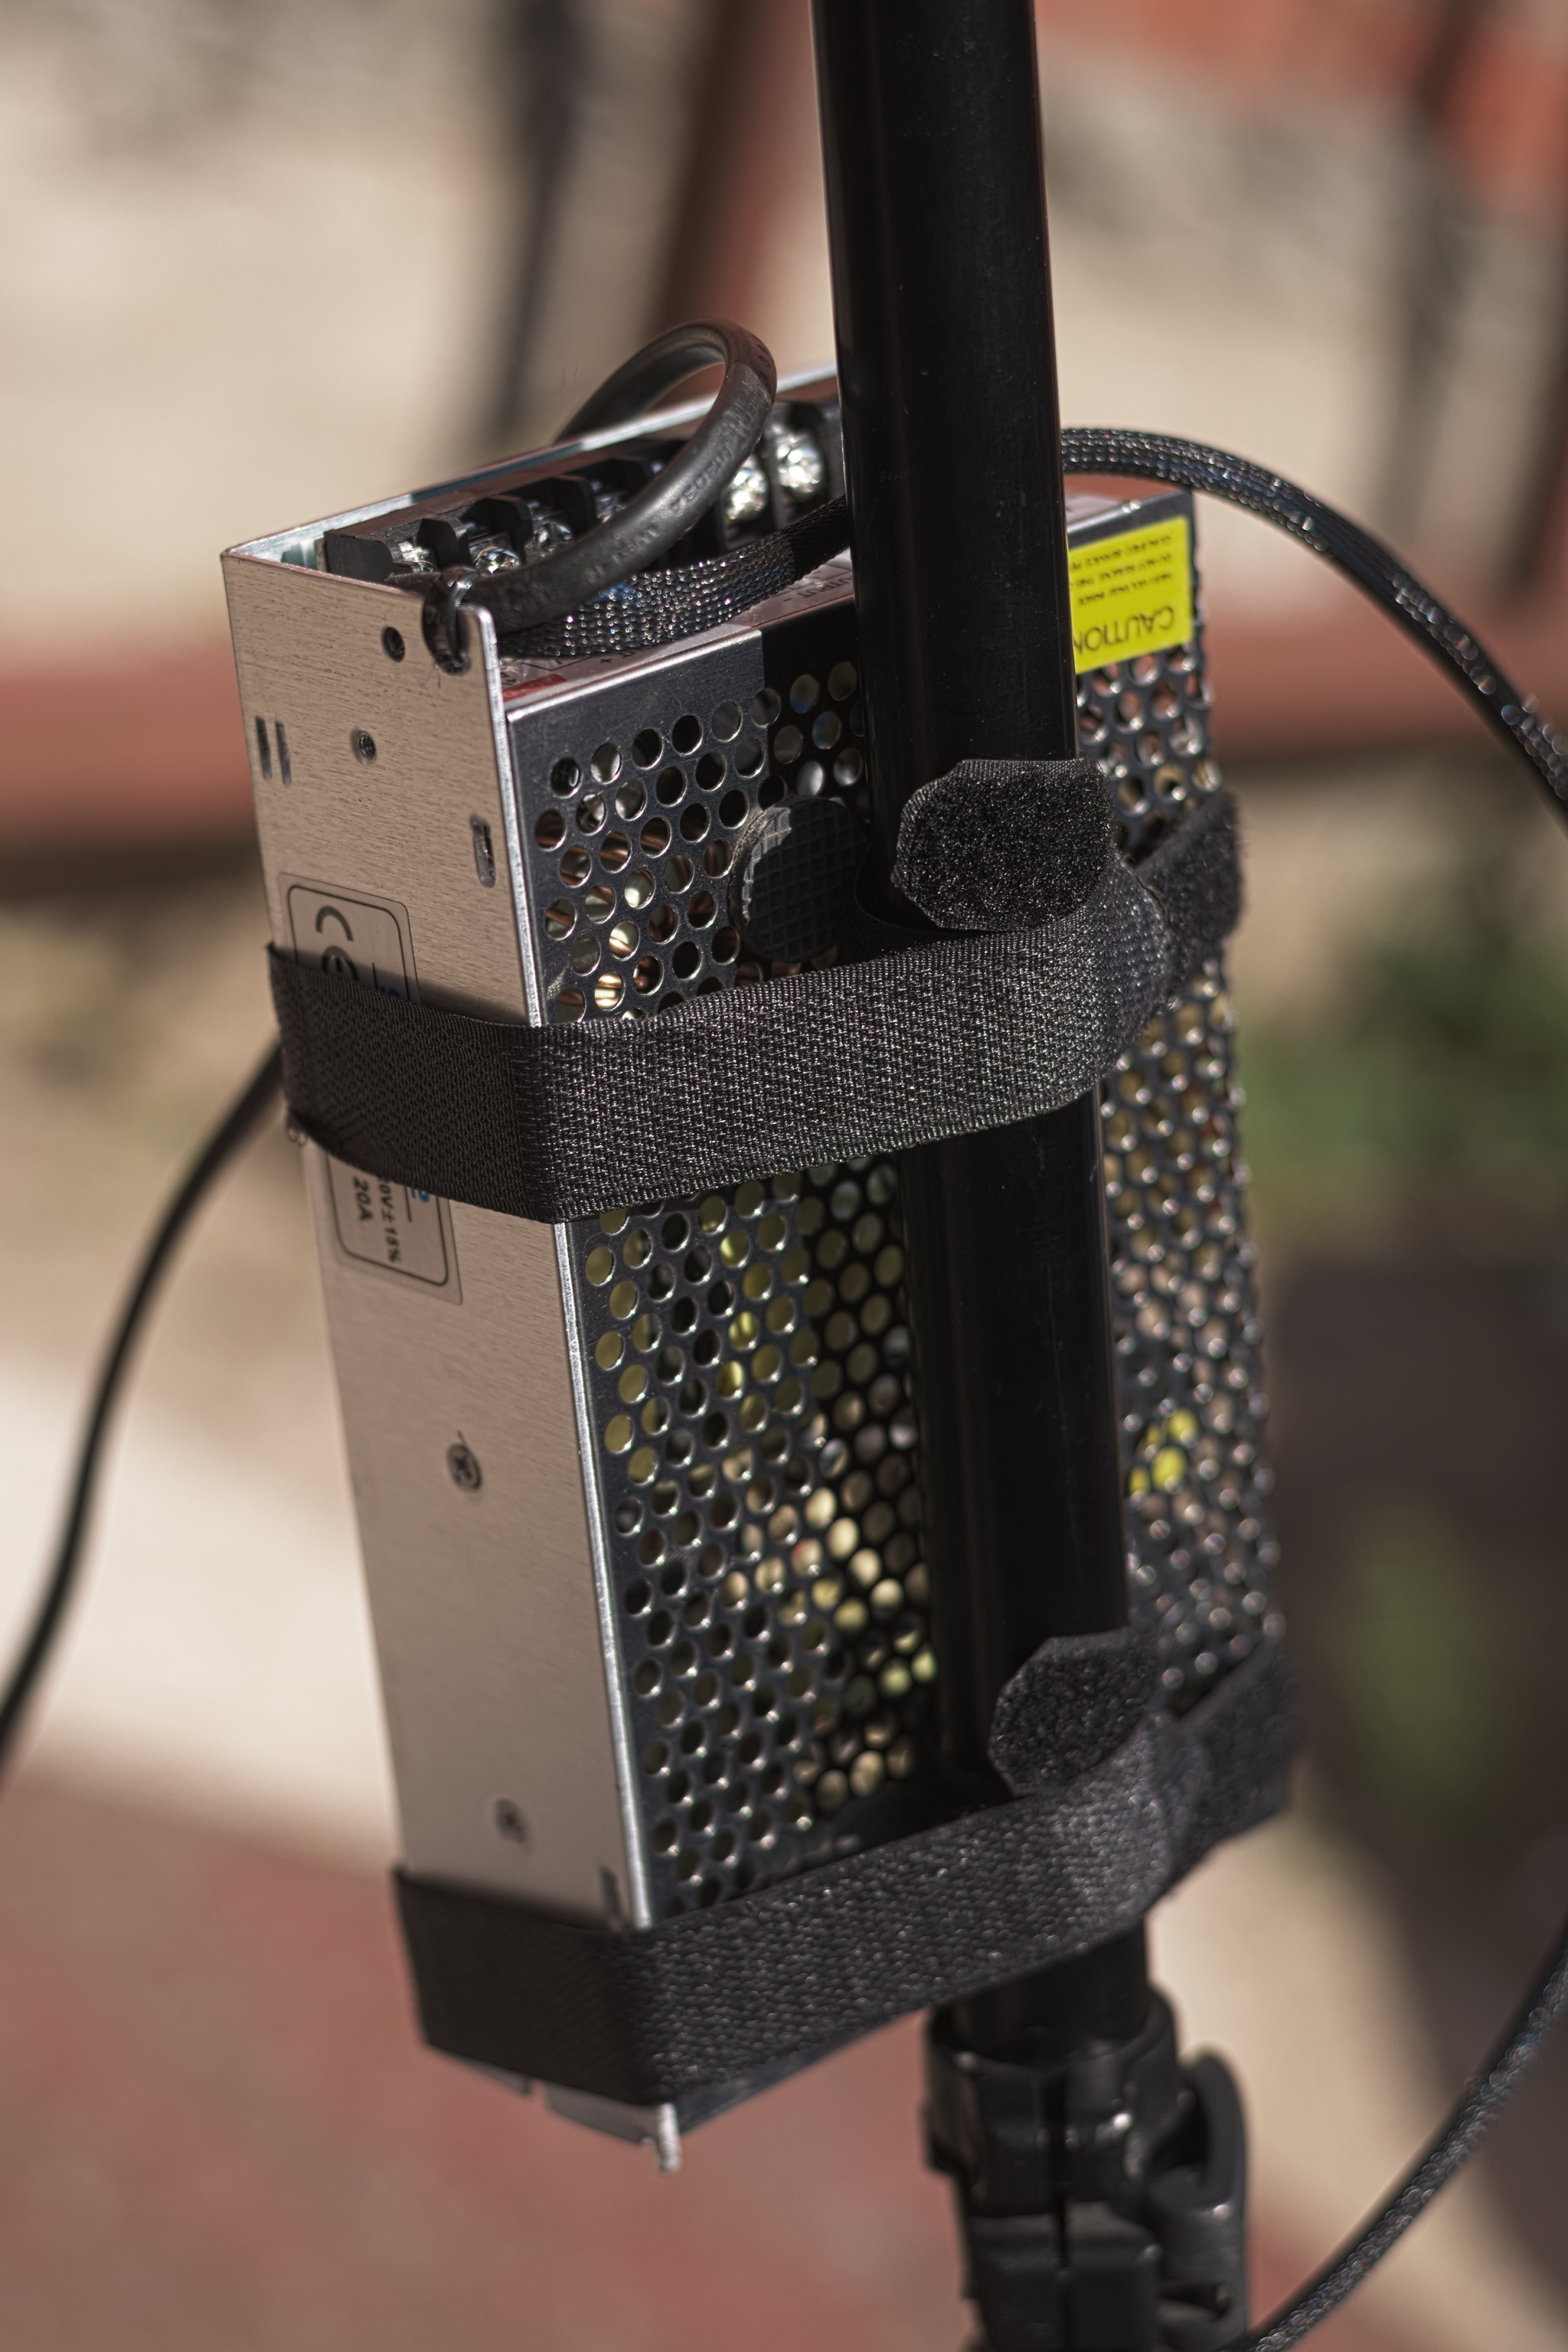
For powering the ringlight I used cheap 12V 20A 240W power supply, that was more than adequate, for this purpose.
The base of the ringlight was made from scraps of plywood and aluminum angles, to make it as light as possible. I haven’t weighed the ringlight itself, but I would say, it weights quite less than one kilogram. Even the cheapest chinese light stands can hold it without problem. As well, it is sturdy enough, to stand in horizontal position without any bending.
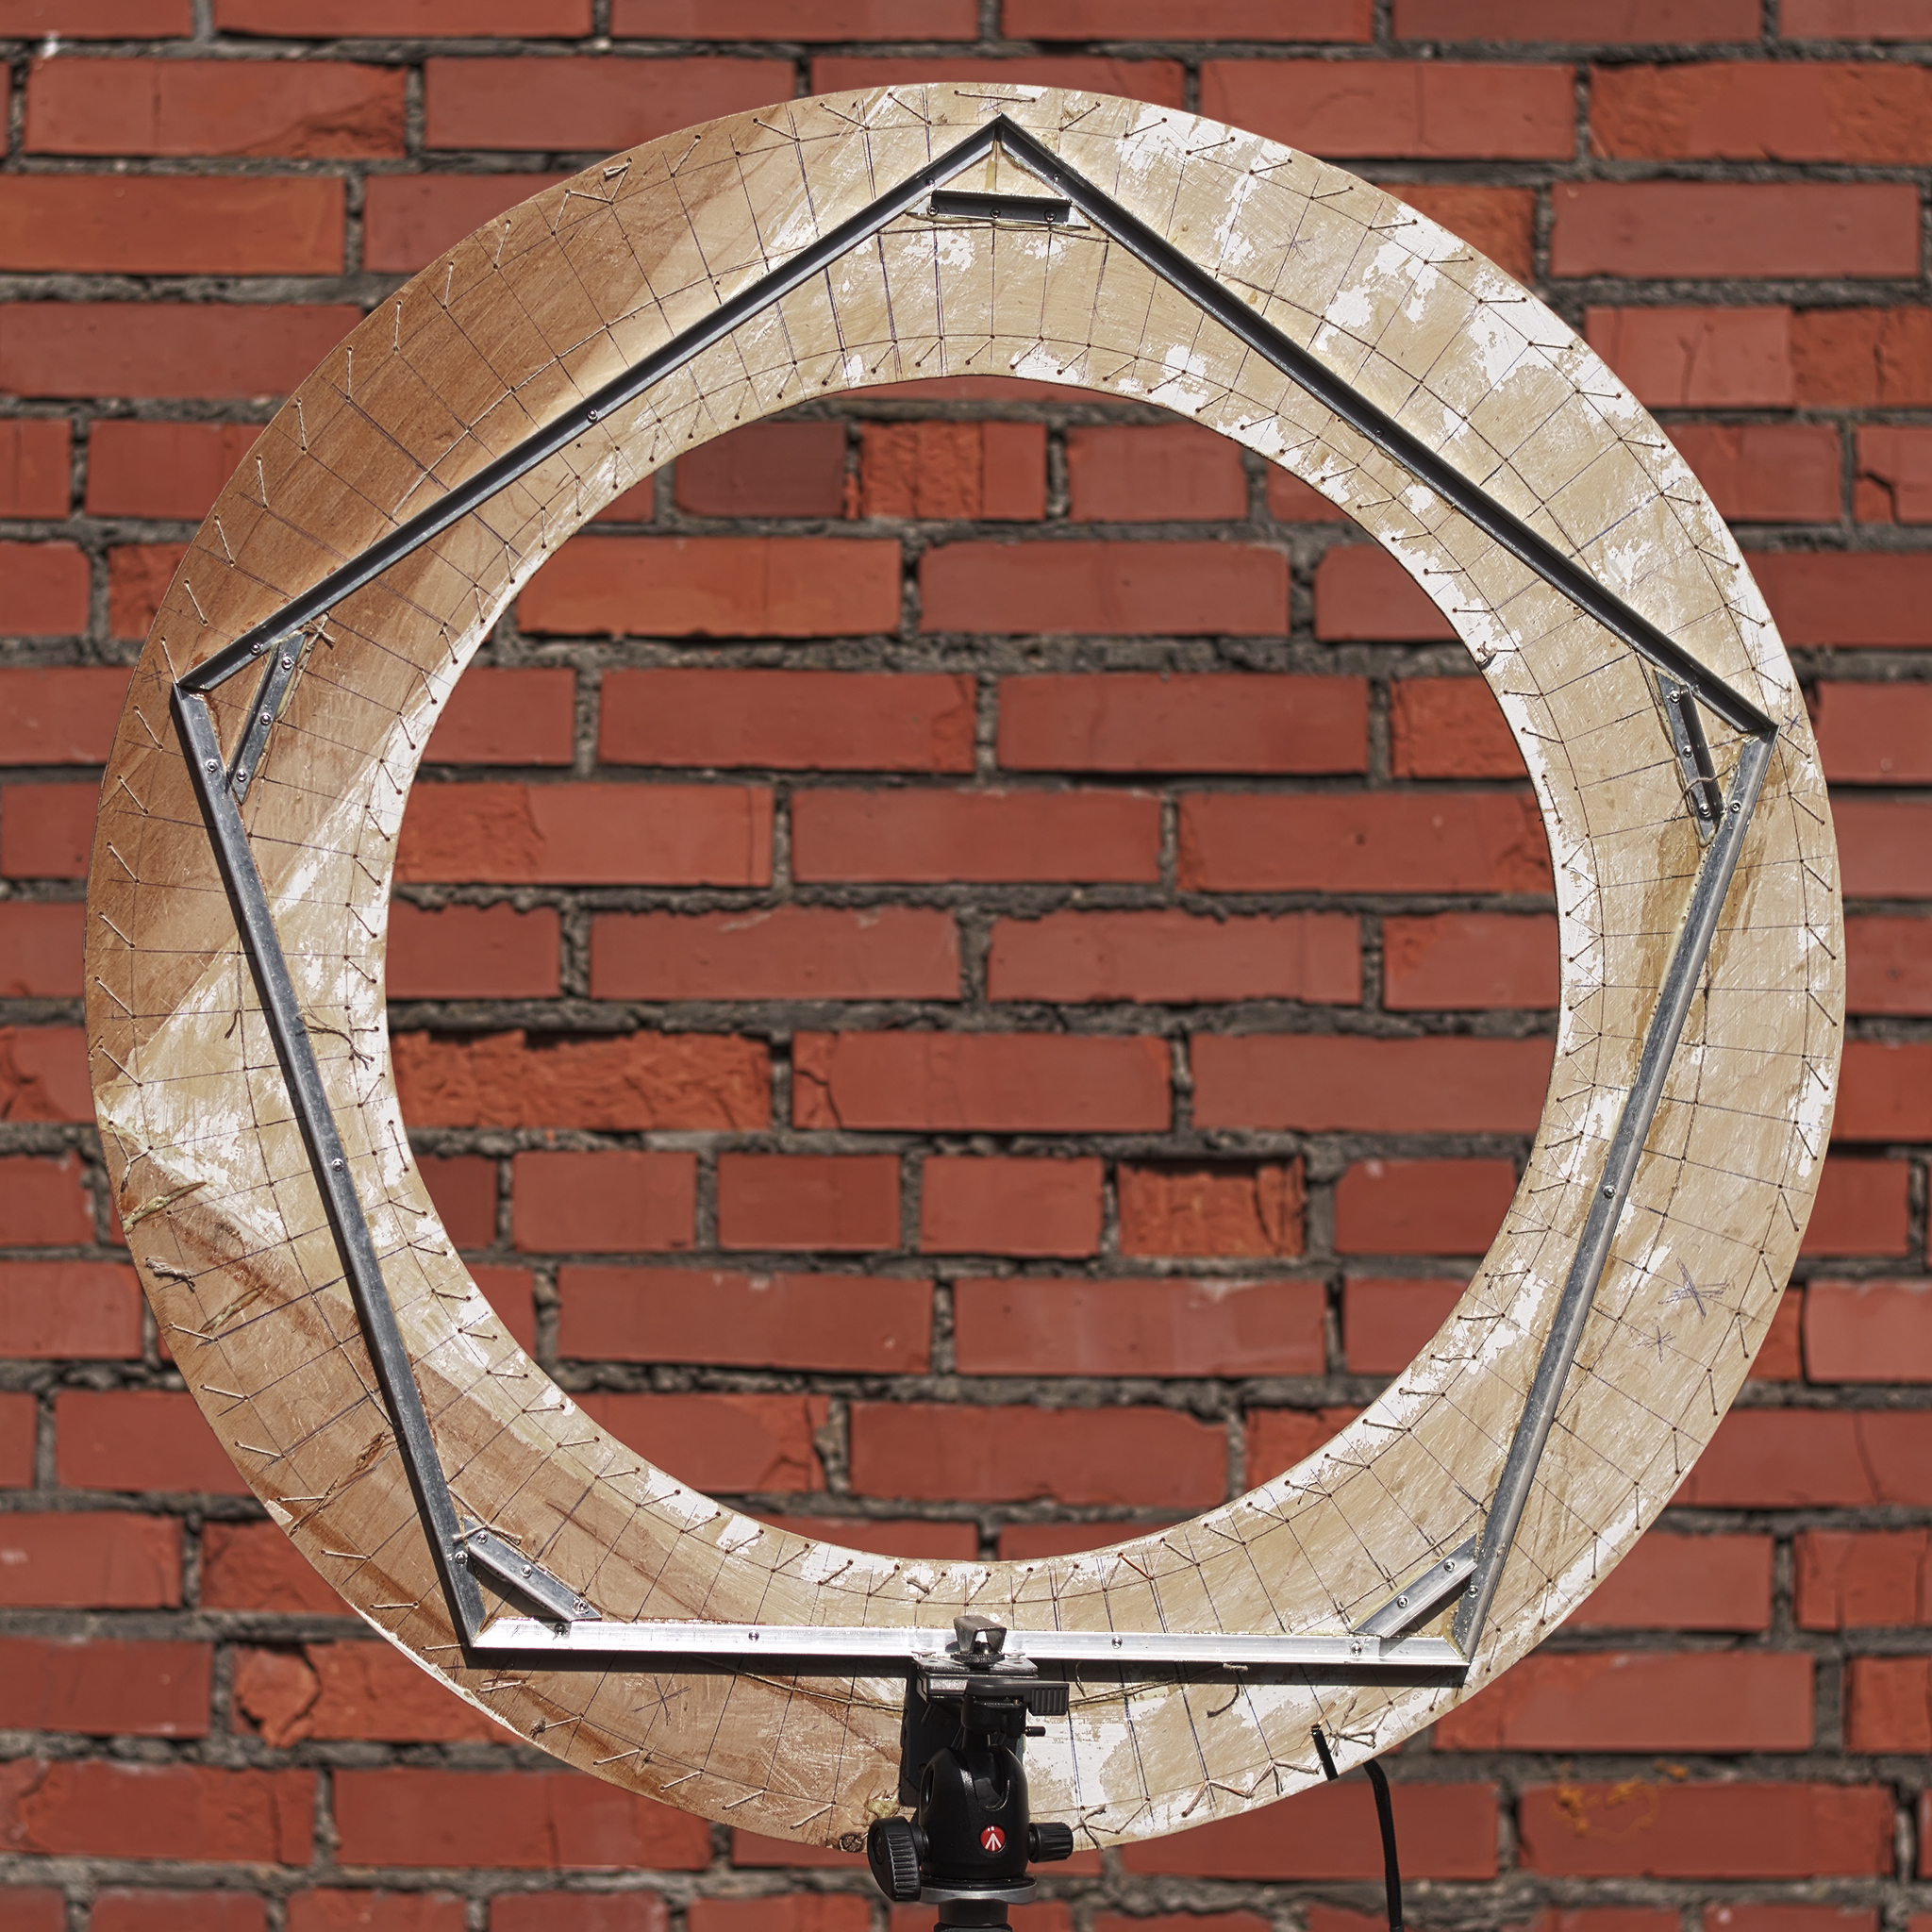
The reason I used cheap plywood is because I plan to replace plywood base with aluminum, for better heat distribution.

So, here are some examples, using this ring light.
Personally, when photographing in venues, like bars, I like take out this light, to shoot guests. People even enjoy using it for shooting their friends by themselves.
Here are a few photos, I have shot in venues:
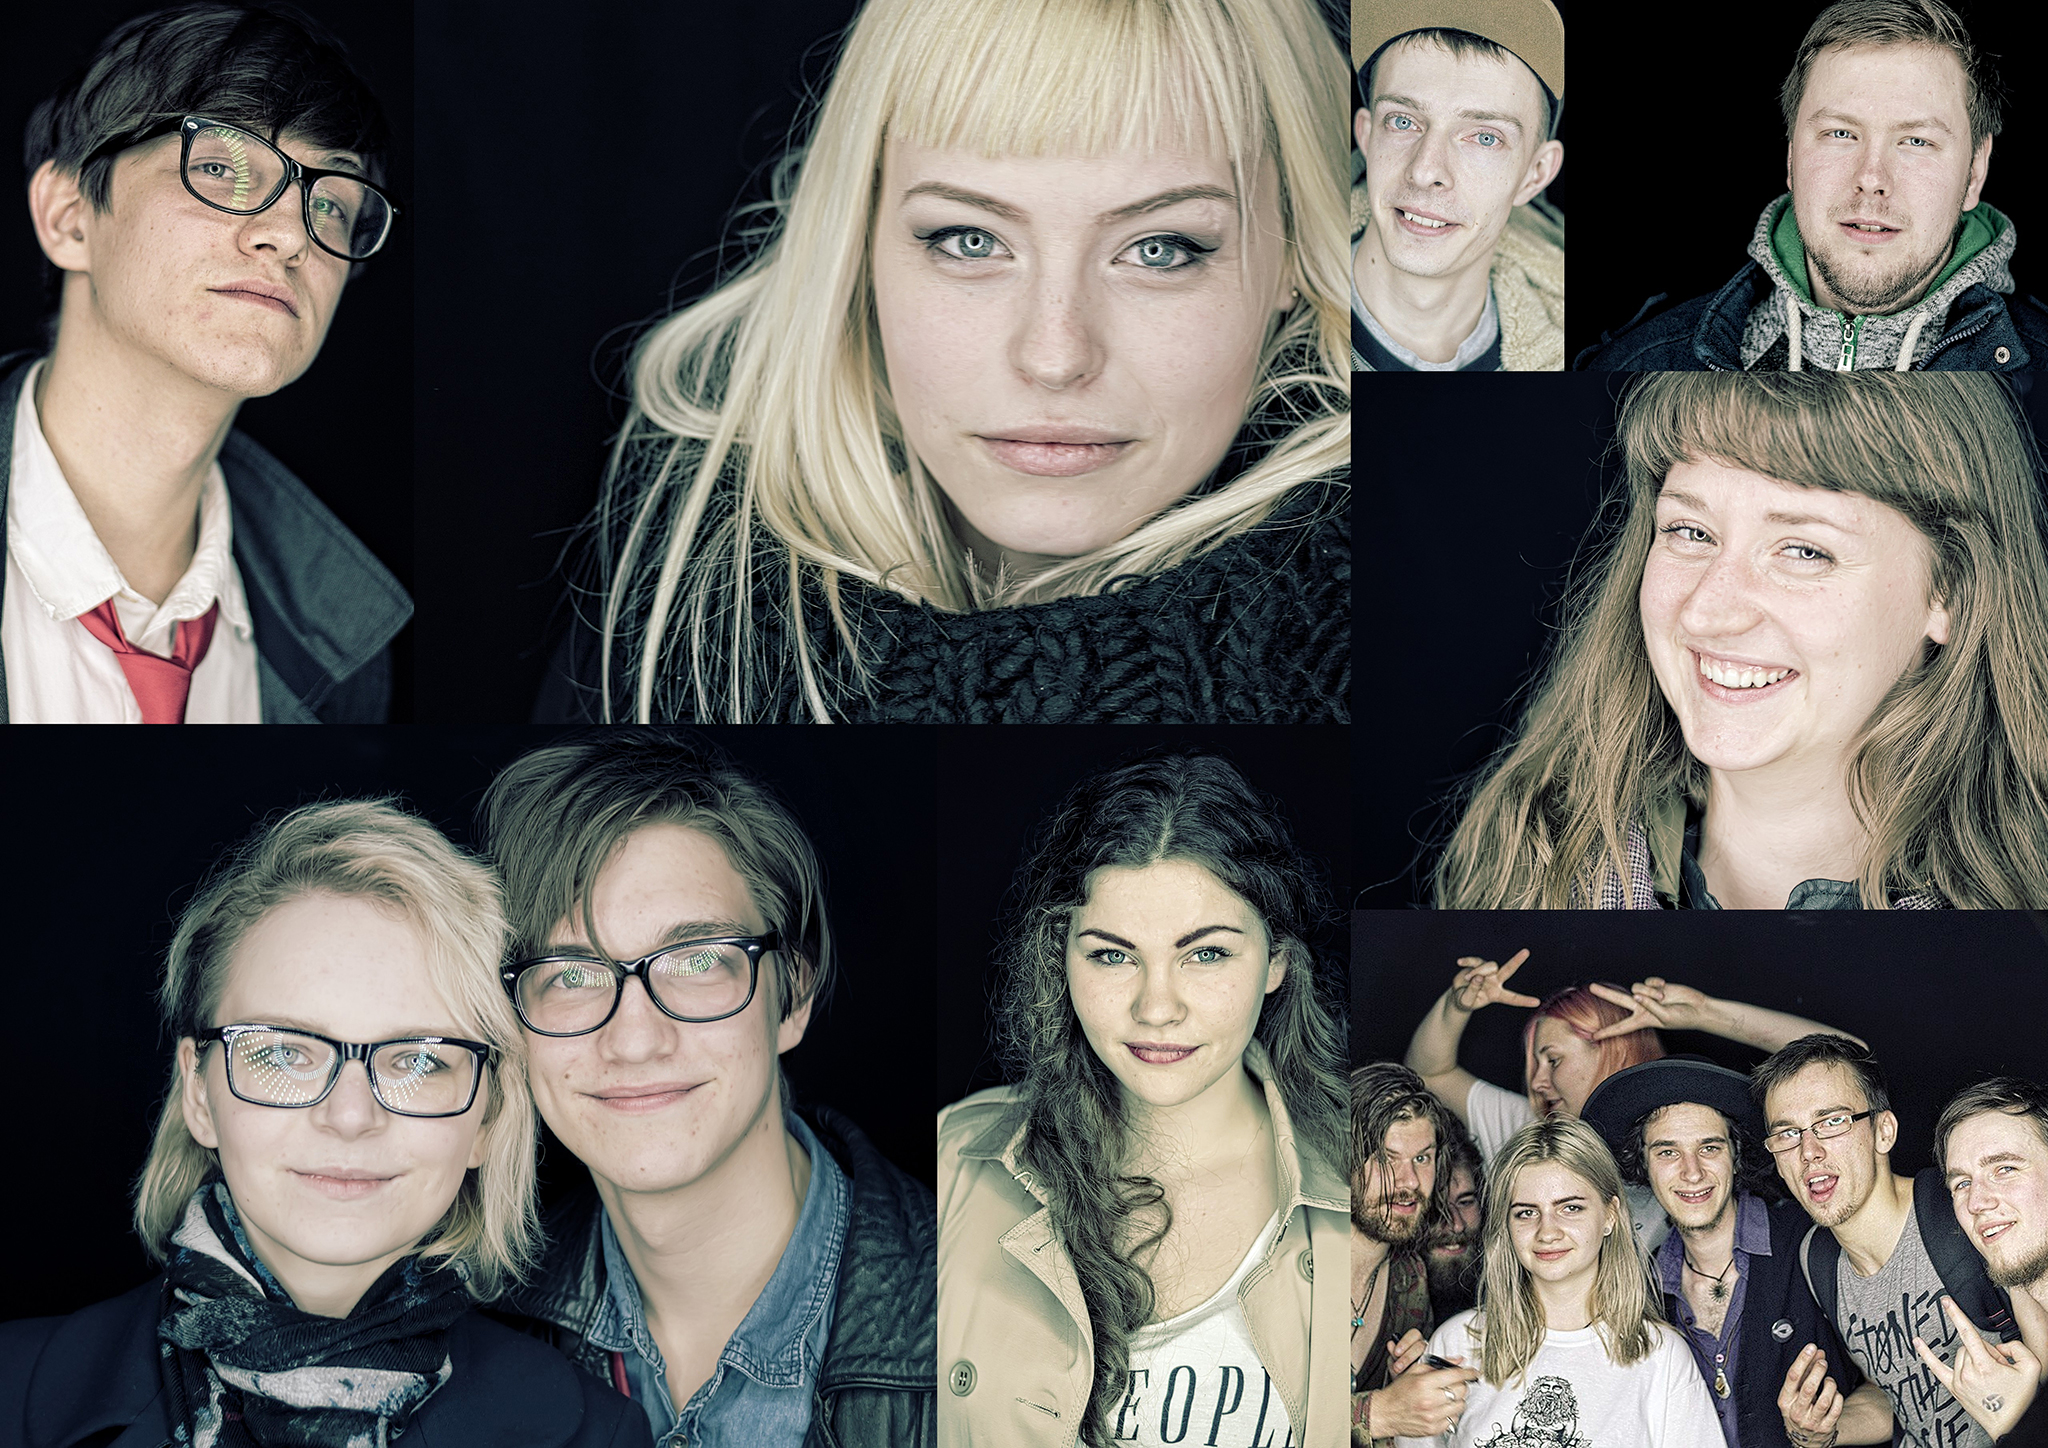 On average, for portrait, light measures around EV10.
For a bit more serious studio use, I have found, that I like to use ring light in combination wirh other lights:
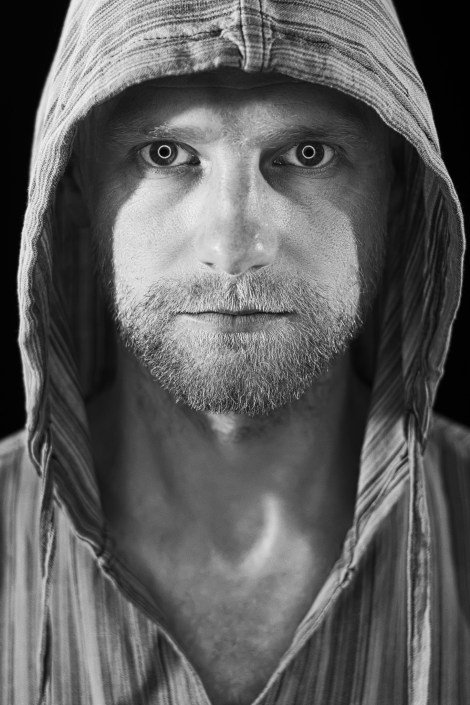 Exif: 1/100sec.┃f/2.8┃iso 100┃50mm(75mm in 35mm format)
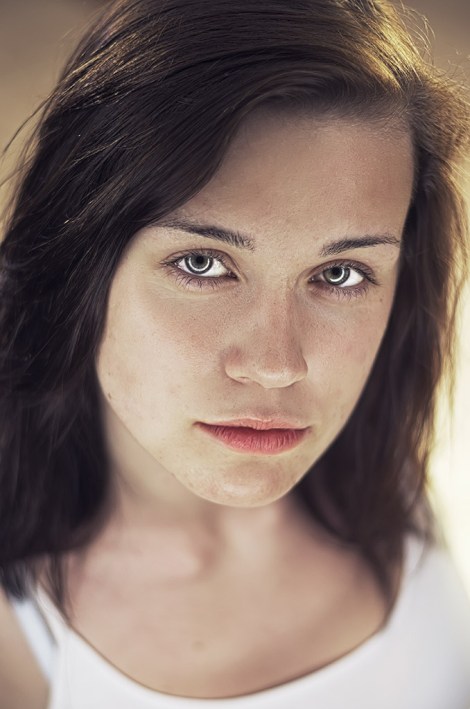 Exif: 1/200sec.┃f/1.8┃iso 100┃50mm(75mm in 35mm format)
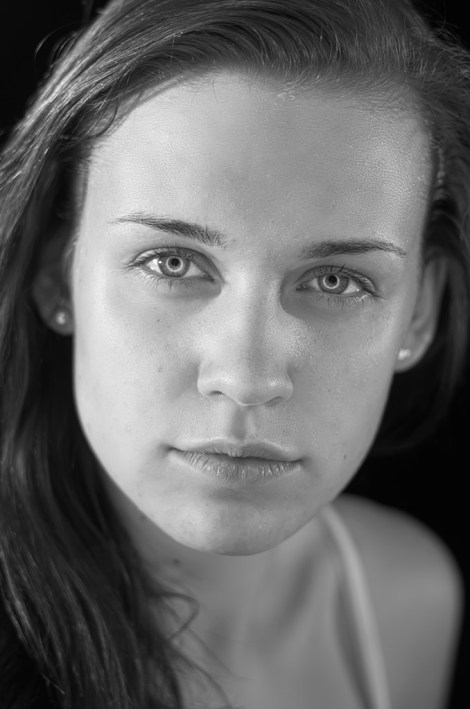 Exif: 1/200sec.┃f/1.8┃iso 100┃50mm(75mm in 35mm format)
In quick summary, I think, that this is the perfect size, for studio ringlight. Big enough, to get those cool rings in eyes, but small enough, to throw in the back of the car, with a cheap light stand. The only problem is the weird color cast, from the cheap LEDs, that is hard to correct without grey card.
That is pretty much it, for this quick look. If you have any question and suggestions – there is a comment section below.

Pingback: Portrait photoshot (07.07.2015) | 3rdHalf.net·
Pingback: A DIY Ring Light Made with Aluminum, Plywood, and LED Light Strips | Photohangout·
Pingback: A DIY Ring Light Made with Aluminum, Plywood, and LED Light Strips·
Pingback: A DIY Ring Light Made with Aluminum, Plywood, and LED Light Strips – ScribbleGraphics·
Pingback: How To Build A Mega 84cm, 480 LEDs Ring Light For $35 - DIY Photography·
Hi!
This looks great, exactly what I’m after as well.
Could you share any more details/photos on the wiring part? I’m a total noob when it comes to wiring 🙂
Did you wire all the negative and all the positive contacts in a chain? Is that a string or another wire in the middle of the leds? Did you use any power amplifier?
Thx!
Mat
I am no rocket-surgeon, when it comes to whining too. :p
I connected all of the strips in “parallel connection”.
If you look at the picture, you can see, that the whire inside the ring is (-) and outside is (+).
When it comes to power, than it is dependent on LEDs. You can even power them, with any PC power suply.
Hi! Can I use this type of ring light to shoot youtube videos? I really like it.
This kind of ring light would shine(pun intended) in video use. Only note for video use: I suggest to make it by combining warm and cool white LEDs and make the tones seperatly dimmable, so you can play around with the tone of the light. The reason why is because cheap LEDs doesen’t have the best light specrtum and single tone LEDs can make bad looking skin tones. Not a problem with photos, if you shoot RAW, but it could be problem when grading compressed video…
Thanks! I’ll try your suggestion now. 🙂 Also, approximately how many meters of led strip lights did you use? And, should I use a 1:1 ratio of the warm and cool white LEDs? Thank you very much!
Nicely done on the ring light construction! I am wondering what you did to attach the LEDs to the wires on the outer and inner circumference. The wires look like solid core, insulated wires and it looks like you stripped a small amount of insulation off at each connection point. Is that what you did? Seems very labour intensive but gives a nice looking finished product!
Thanks
I simply striped off some regular multi strand wires, that I twisted up. Then I cutted them up in ~5cm pieces, that I soldered straight to LED strips…
…the outer ring is solid core, that’s insulation was cutted in ~15mm and slided to have equal gaps for connections.