Here is a quick article about my latest photo experiment. I won’t be going deep into intricacies of specific software, because this is not tutorial, but more like showcase of workflow.
If you are interested – here is a good tutorial on HDRI lighting: [Rendering] HDRi in 3dsMax.
To start with, I needed two images. Base image, that I will use as background and equirectangular panorama, that I used to create lighting and reflections.
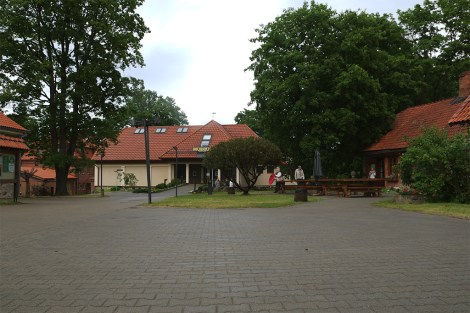
Base image I used as background
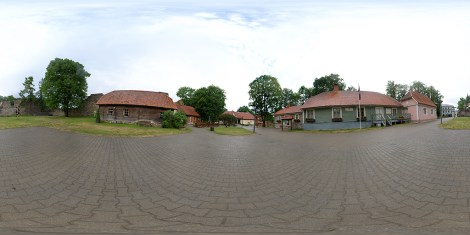
Equirectangular image (click on to view in 360)
I imported image into 3ds Max as background and I matched the scene to get precise perspective and relations of 3d objects in scene. Then, I was able to create 3d shape, that fitted perfectly in the scene.
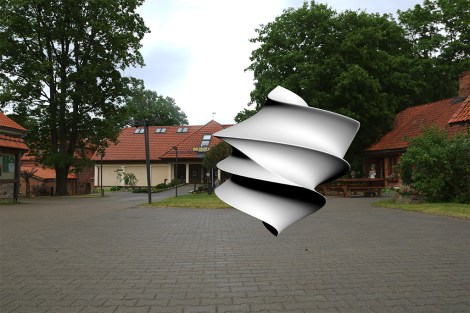
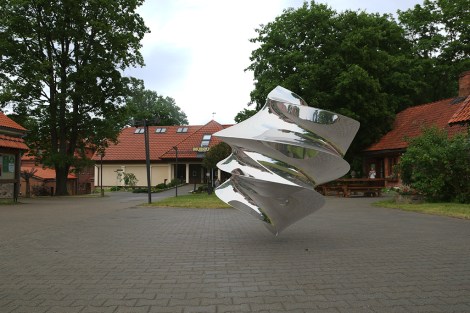
Simple 3d shape in the scene.
Next part was to create material for the object. I chose highly reflective chrome object. To create reflections I used previously created equirectangular panorama, that reflected on the object.
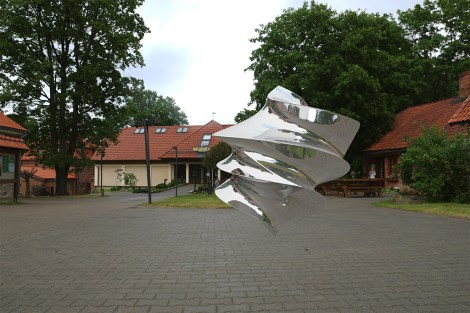
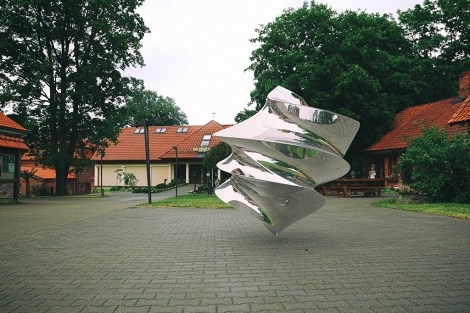
3d object with reflections.
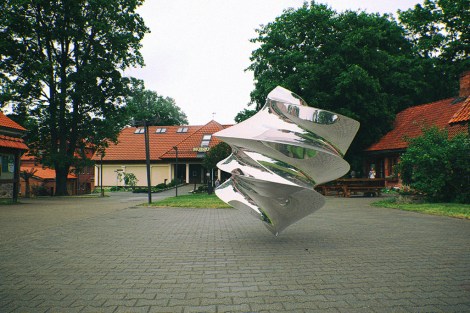
Even with reflections – the shape do not look like it’s into the scene, because lack of shading and shadows. To solve that, I used HDRI to create precise lighting for the scene.
Scene with shading.
At this point, everything was finished with 3DS Max, so I started post processing. First part of post was basic contrast adjustments and toning.
Basic post processing
Last part was to create some imperfections to the image, to give it more realistic look. To do that I added slight barrel distortion, chromatic aberration and some grain. After that – the image was finished!
Finished image (click to view in full size)
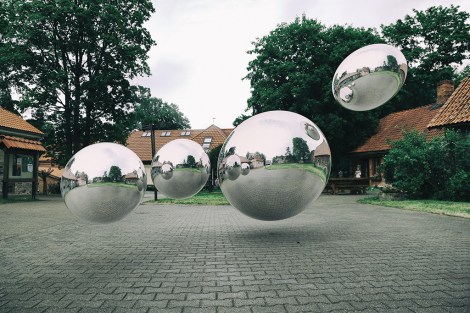
Here is another variation of the scene:
(click to view in full resolution)
That is pretty much it, for the time being. Hopefully, additional updates will come soon. 🙂
