Back in May I got collaboration offer, from a body painter, to make photo session with airbrushed models. This offer gave me the incentive, to finally try out blacklight photography, what I wanted to try out for years now.
After searching through web, I found, that blacklight photography is technically rather complicated process. The main obstacle of blacklight photography is the light source. Generally, there are two main options, for UV lighting. Ultra violet constant lighting and ultra violet strobe lighting:
- The problem with ultra violet constant lighting is low light output. For example: even when using a pair of 400W UV lights, it would require to use relatively high ISO and low shutter speeds, that wouldn’t work with my old D5100.
- The other option, black light strobes, solves the problem with low shutter speeds and high ISO, but the problem is in cost. For example, a single Broncolor UV Attachment costs more than all of my camera gear combined.
At this point I was rather disencouraged, with these options. But with a lucky coincidence I got my hands on old soviet UV flood light, that used ultra violet filters, not UV bulbs.

After searching some info about these filters, I found, that it is possible to purchase filters like these on AliExpress(It is possible to find industrial vendors, by googling: “Ultraviolet Transmitting, Visible Absorbing Filter”).
How do these filters work: Most of light sources emit light in visible spectrum(390-700 nm) and some light in ultraviolet spectrum(300-400 nm). These filters simply block out visible light spectrum and allows only ultra violet light to pass through. This is what previously mentioned Broncolor UV Attachment does.
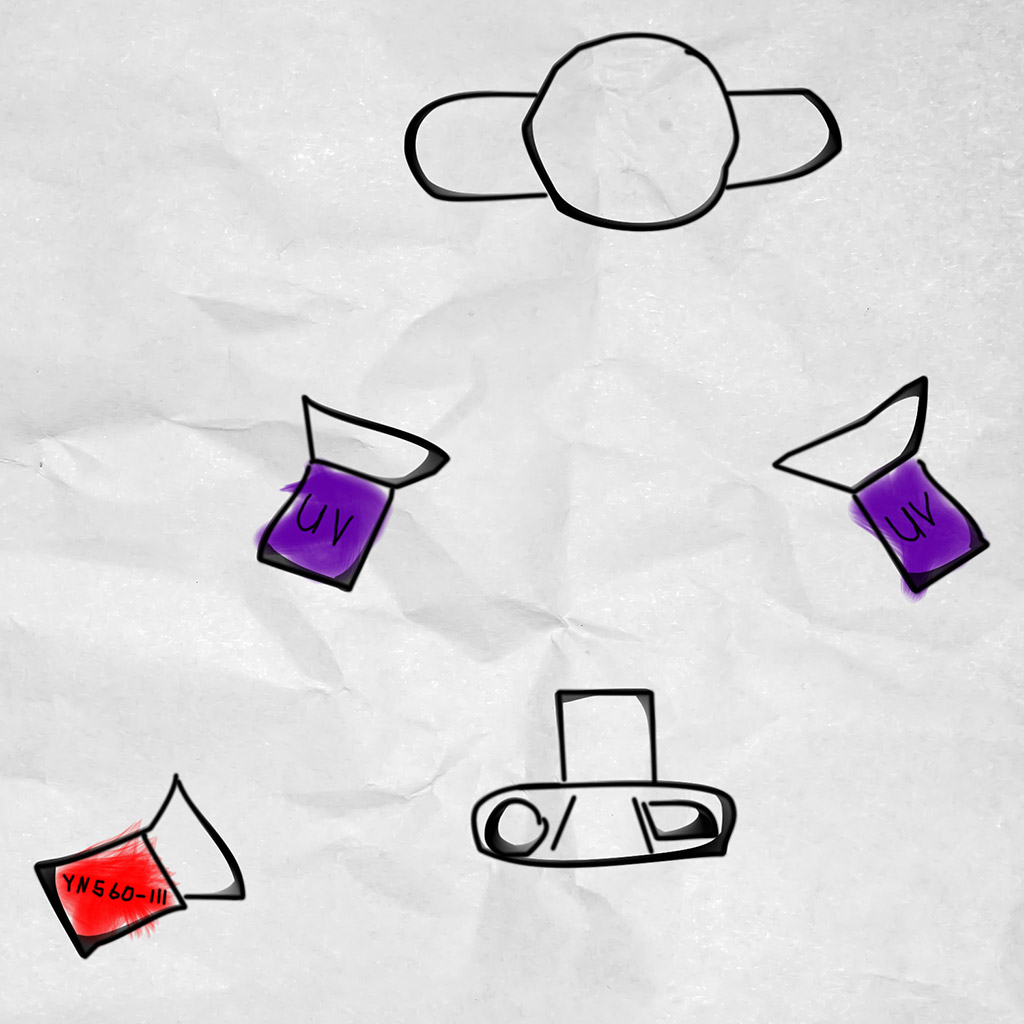
After this long preface, let’s get straight to the point – how I made ultra violet strobes, for blacklight photography.
Here are the necessary supplies:
- A flash(I used a pair of old FIL-105)
- Ultraviolet transmitting, visible absorbing filter.
- Gaffer tape
- UV body paint
The hardest part about this project is to get the supplies, but after that yo don’t need to be a rocket surgeon, to attach UV filters to strobes. :p
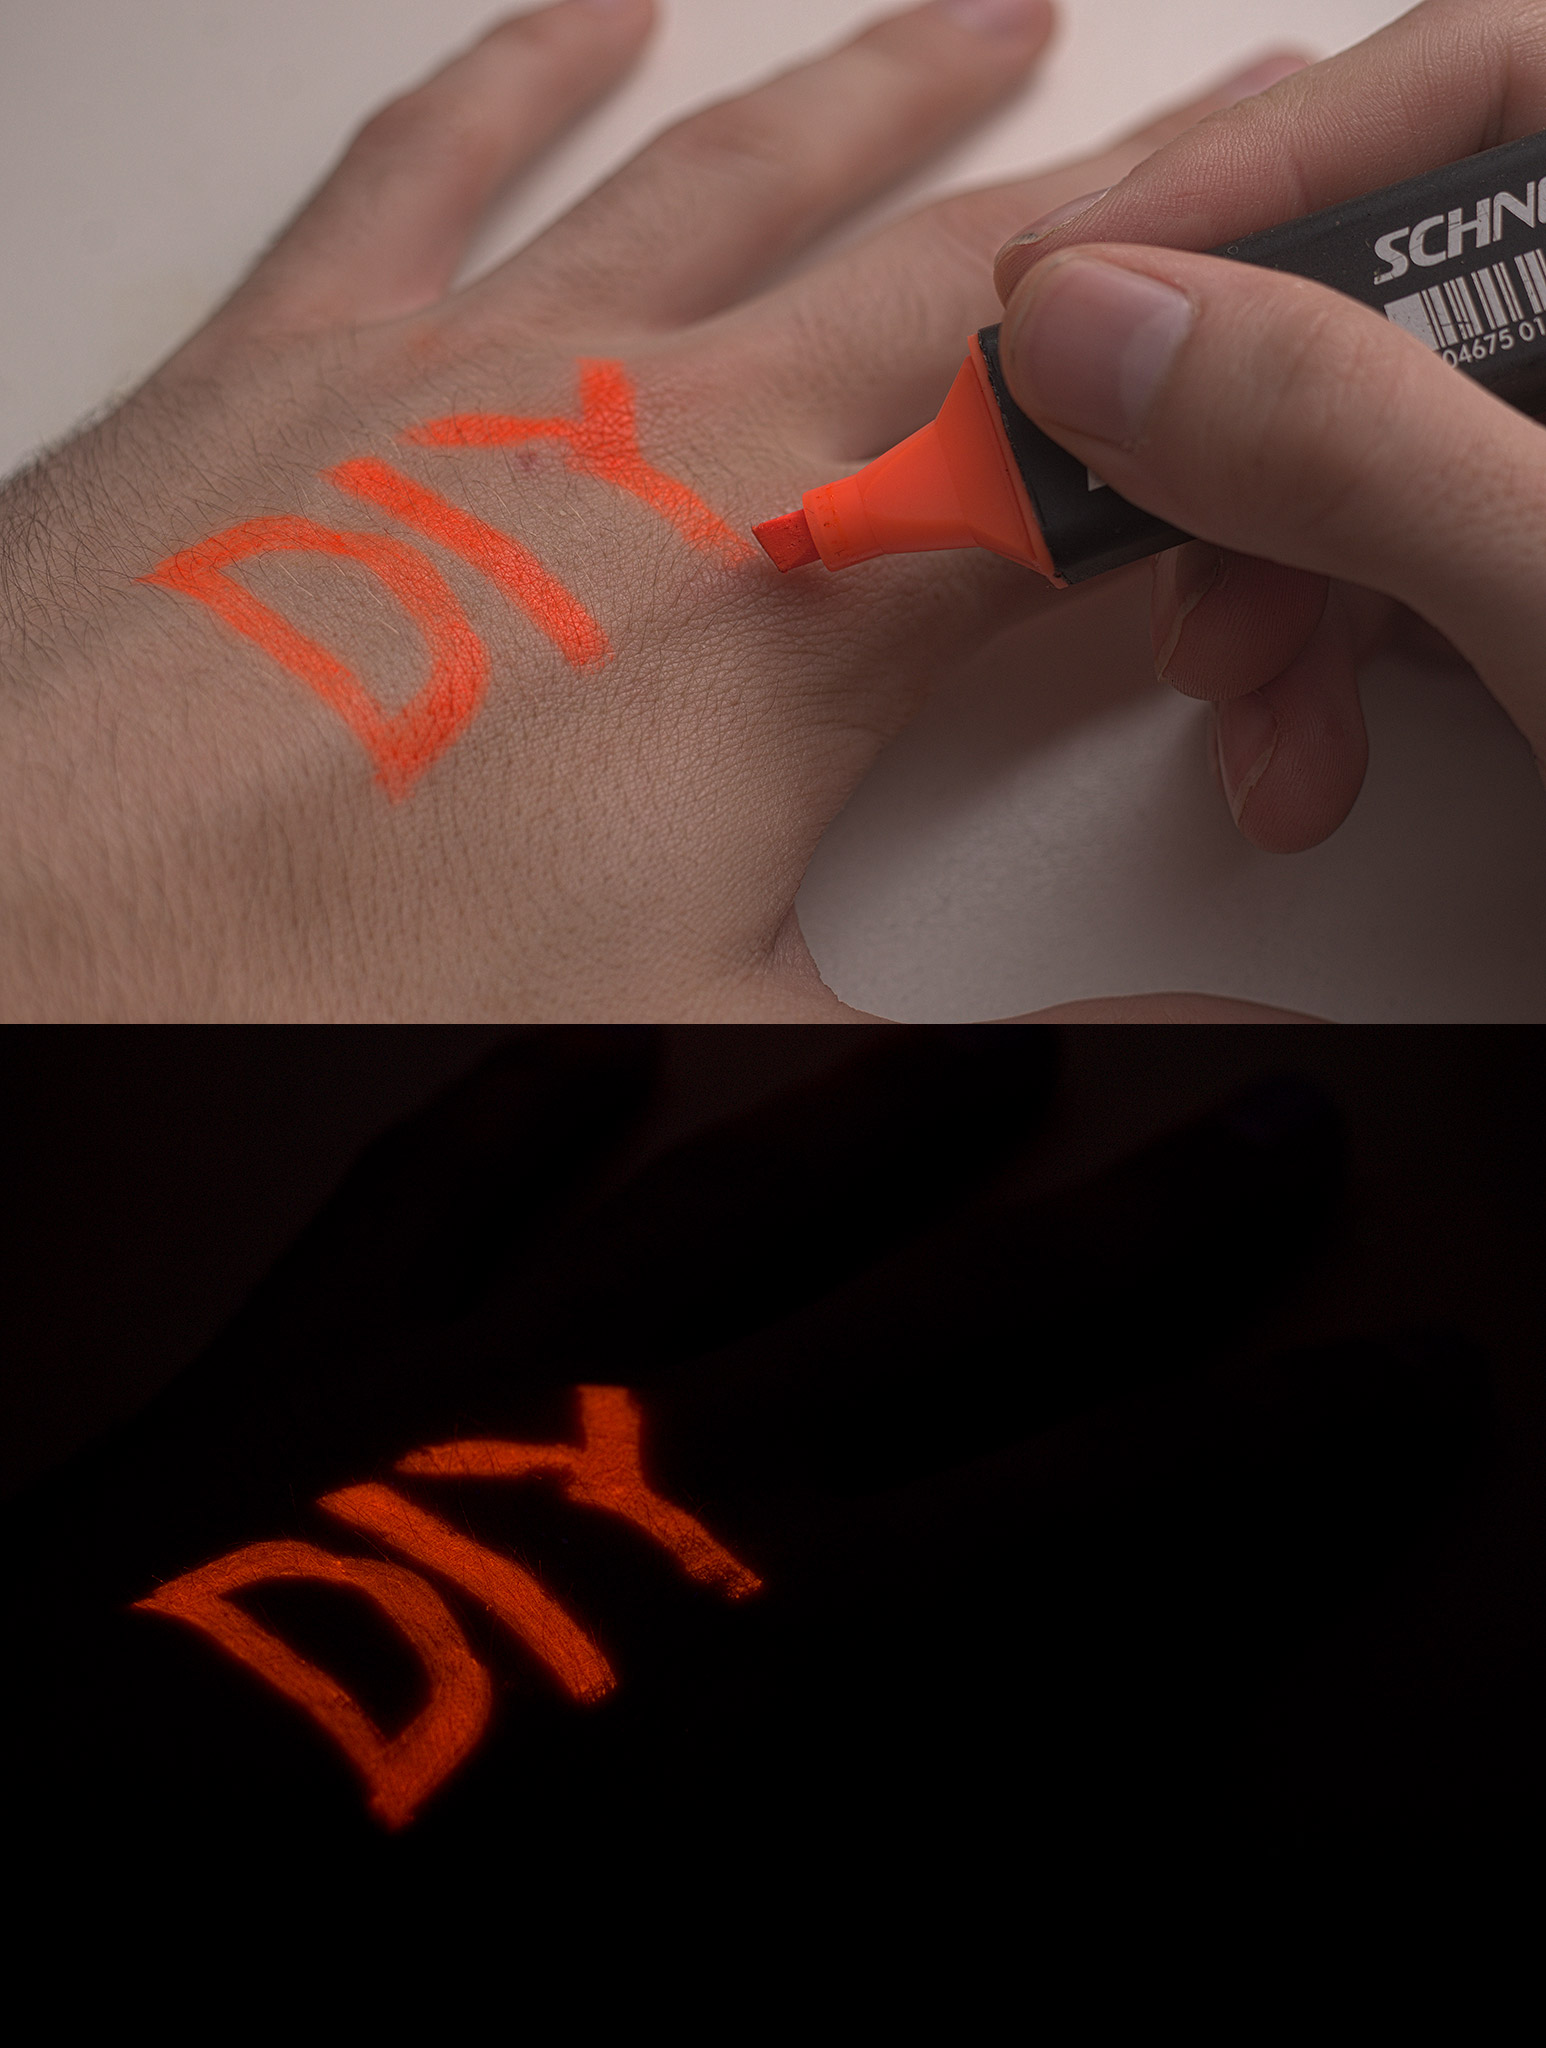
Now, when it comes to hot-shoe flashes, it can get a bit more complicated. Some flashes, especially high-end ones, like CaNikon, have UV blocking filters. These flashes require removal of this filter, to work with blacklight photography.
In case of my YN560-III I didn’t need to do this, because it does not have uv blocking filter.
Here below is a test shot with UV paint, illuminated with YN560-III.
Now, to the photo shoot:
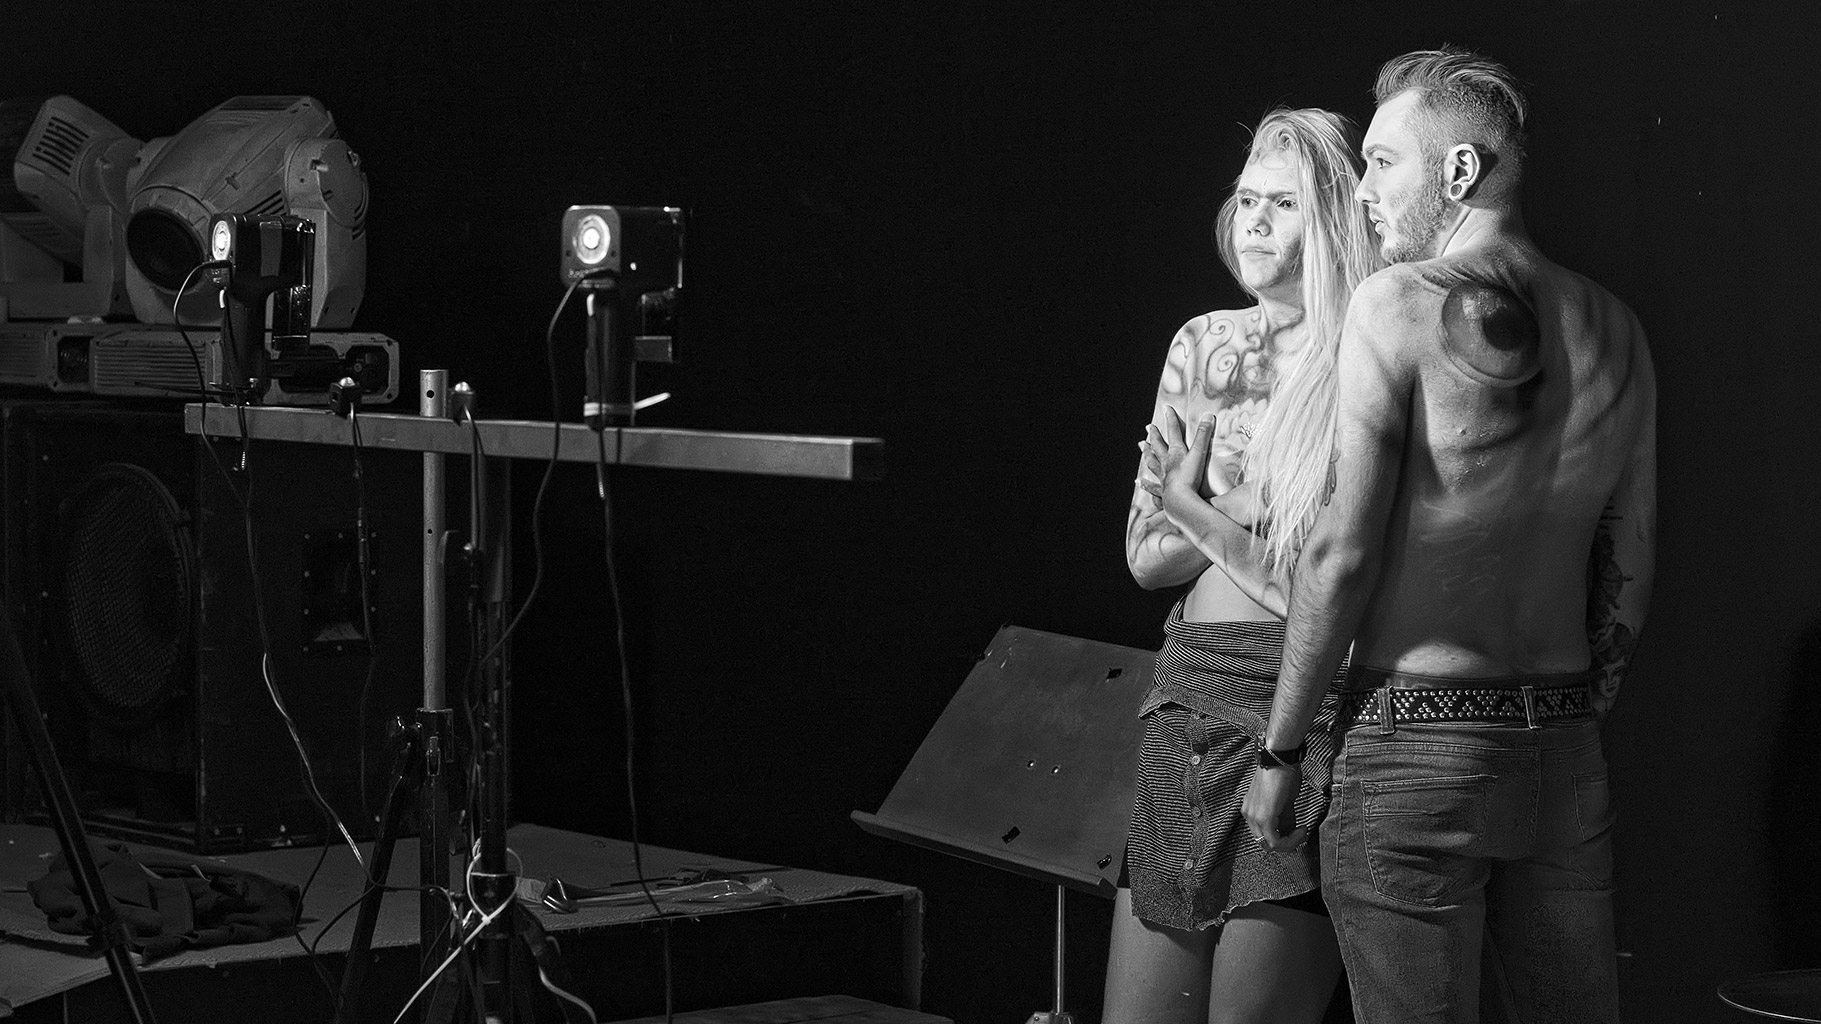
Behind the scenes look at setup.
My light setup was really simple. I used both FIL-105 flashes for UV. Because these FIL-105 flashes synchronizes optically, I use YN 560-III on lowest power, to trigger them.
 Here are some photos, made with this setup:
 Exif: 1/200sec.┃f/2.8┃iso 100
 Exif: 1/200sec.┃f/2.8┃iso 100
 Exif: 1/160sec.┃f/2.8┃iso 200
A few extra tips, I learned, from this project:
- Be careful with blue UV paint, because it’s fluorescence is the brightest, comparing to other colors. This makes it really easy to blow out blue tones.
- Theoretically, it should be possible to salvage filters by cutting UV bulbs in half.
- Most of text highlighter pens are fluorescent.
- Avoid incandescent UV bulbs and UV LED lights.
That is pretty much it!
If you have any questions and/or suggestions – comment section below is there for a reason.

Pingback: DIY: An Ultraviolet Flash for Black Light Photography | Photohangout·
Pingback: DIY: An Ultraviolet Flash for Black Light Photography – StartMyBand·
Pingback: DIY: An Ultraviolet Flash for Black Light Photography·
Pingback: DIY: An Ultraviolet Flash for Black Light Photography : SelfHelpTip·
Pingback: Building An Ultra Violet Flash For Black Light Photography - DIY Photography·
Hi Gvido,
I am Miklos KONCZ from Hungary!
Your topic is very nice about UV photography!
Can you describe me what is exactly UV flood lamp? Where can I procure it? Maybe in Hungary also has a source of Russian technology! Or do you have some spare filters for sale from your lamp?
Thanks and regards,
Miklos from Hungary
Floodlights are basically outdoor lights, used as street lights and lights for sports fields. In this case, this soviet lamp, it was used in discotheques and theatre. These lights were using some kind of gas-discharge bulb with UV selective apsorbsion filters( http://goo.gl/3aG9OP ).
These days, these kinds of lights use bulbs that are made from same filter/glass, used for previously mentioned UV filters( http://goo.gl/6Vsrze ).
Fourtinetly/unfourtinetly I am actively using all of my filters in a bar/club, so I can’t really sell them. But, if you realy want to try this on a tight budget – I would suggest to buy 250 or 400W UV bulb and mount it in front of strobe.
ps. Mercury wapor bulbs requires special balast, for starting and power them, just like fluorescent tubes.
Hey! I love this blog, unfortunately I’m having trouble finding the UV selective absorption filters — the links provided are no longer available. Do you have any leads on where it can be obtained?
Thanks!